14.8. Trapped candles#
| Author: | Norbert van Veen |
| Time: | 5-10 minutes |
| Age group: | 12-14 |
Introduction#
Everyone is familiar with the demonstration of a burning candle that goes out when placed under a bell jar. A slightly altered version of that demonstration provides excellent opportunity to highlight some characteristics of how science works. For this demonstration you make use of two burning candles of different lengths, placed under the bell jar.
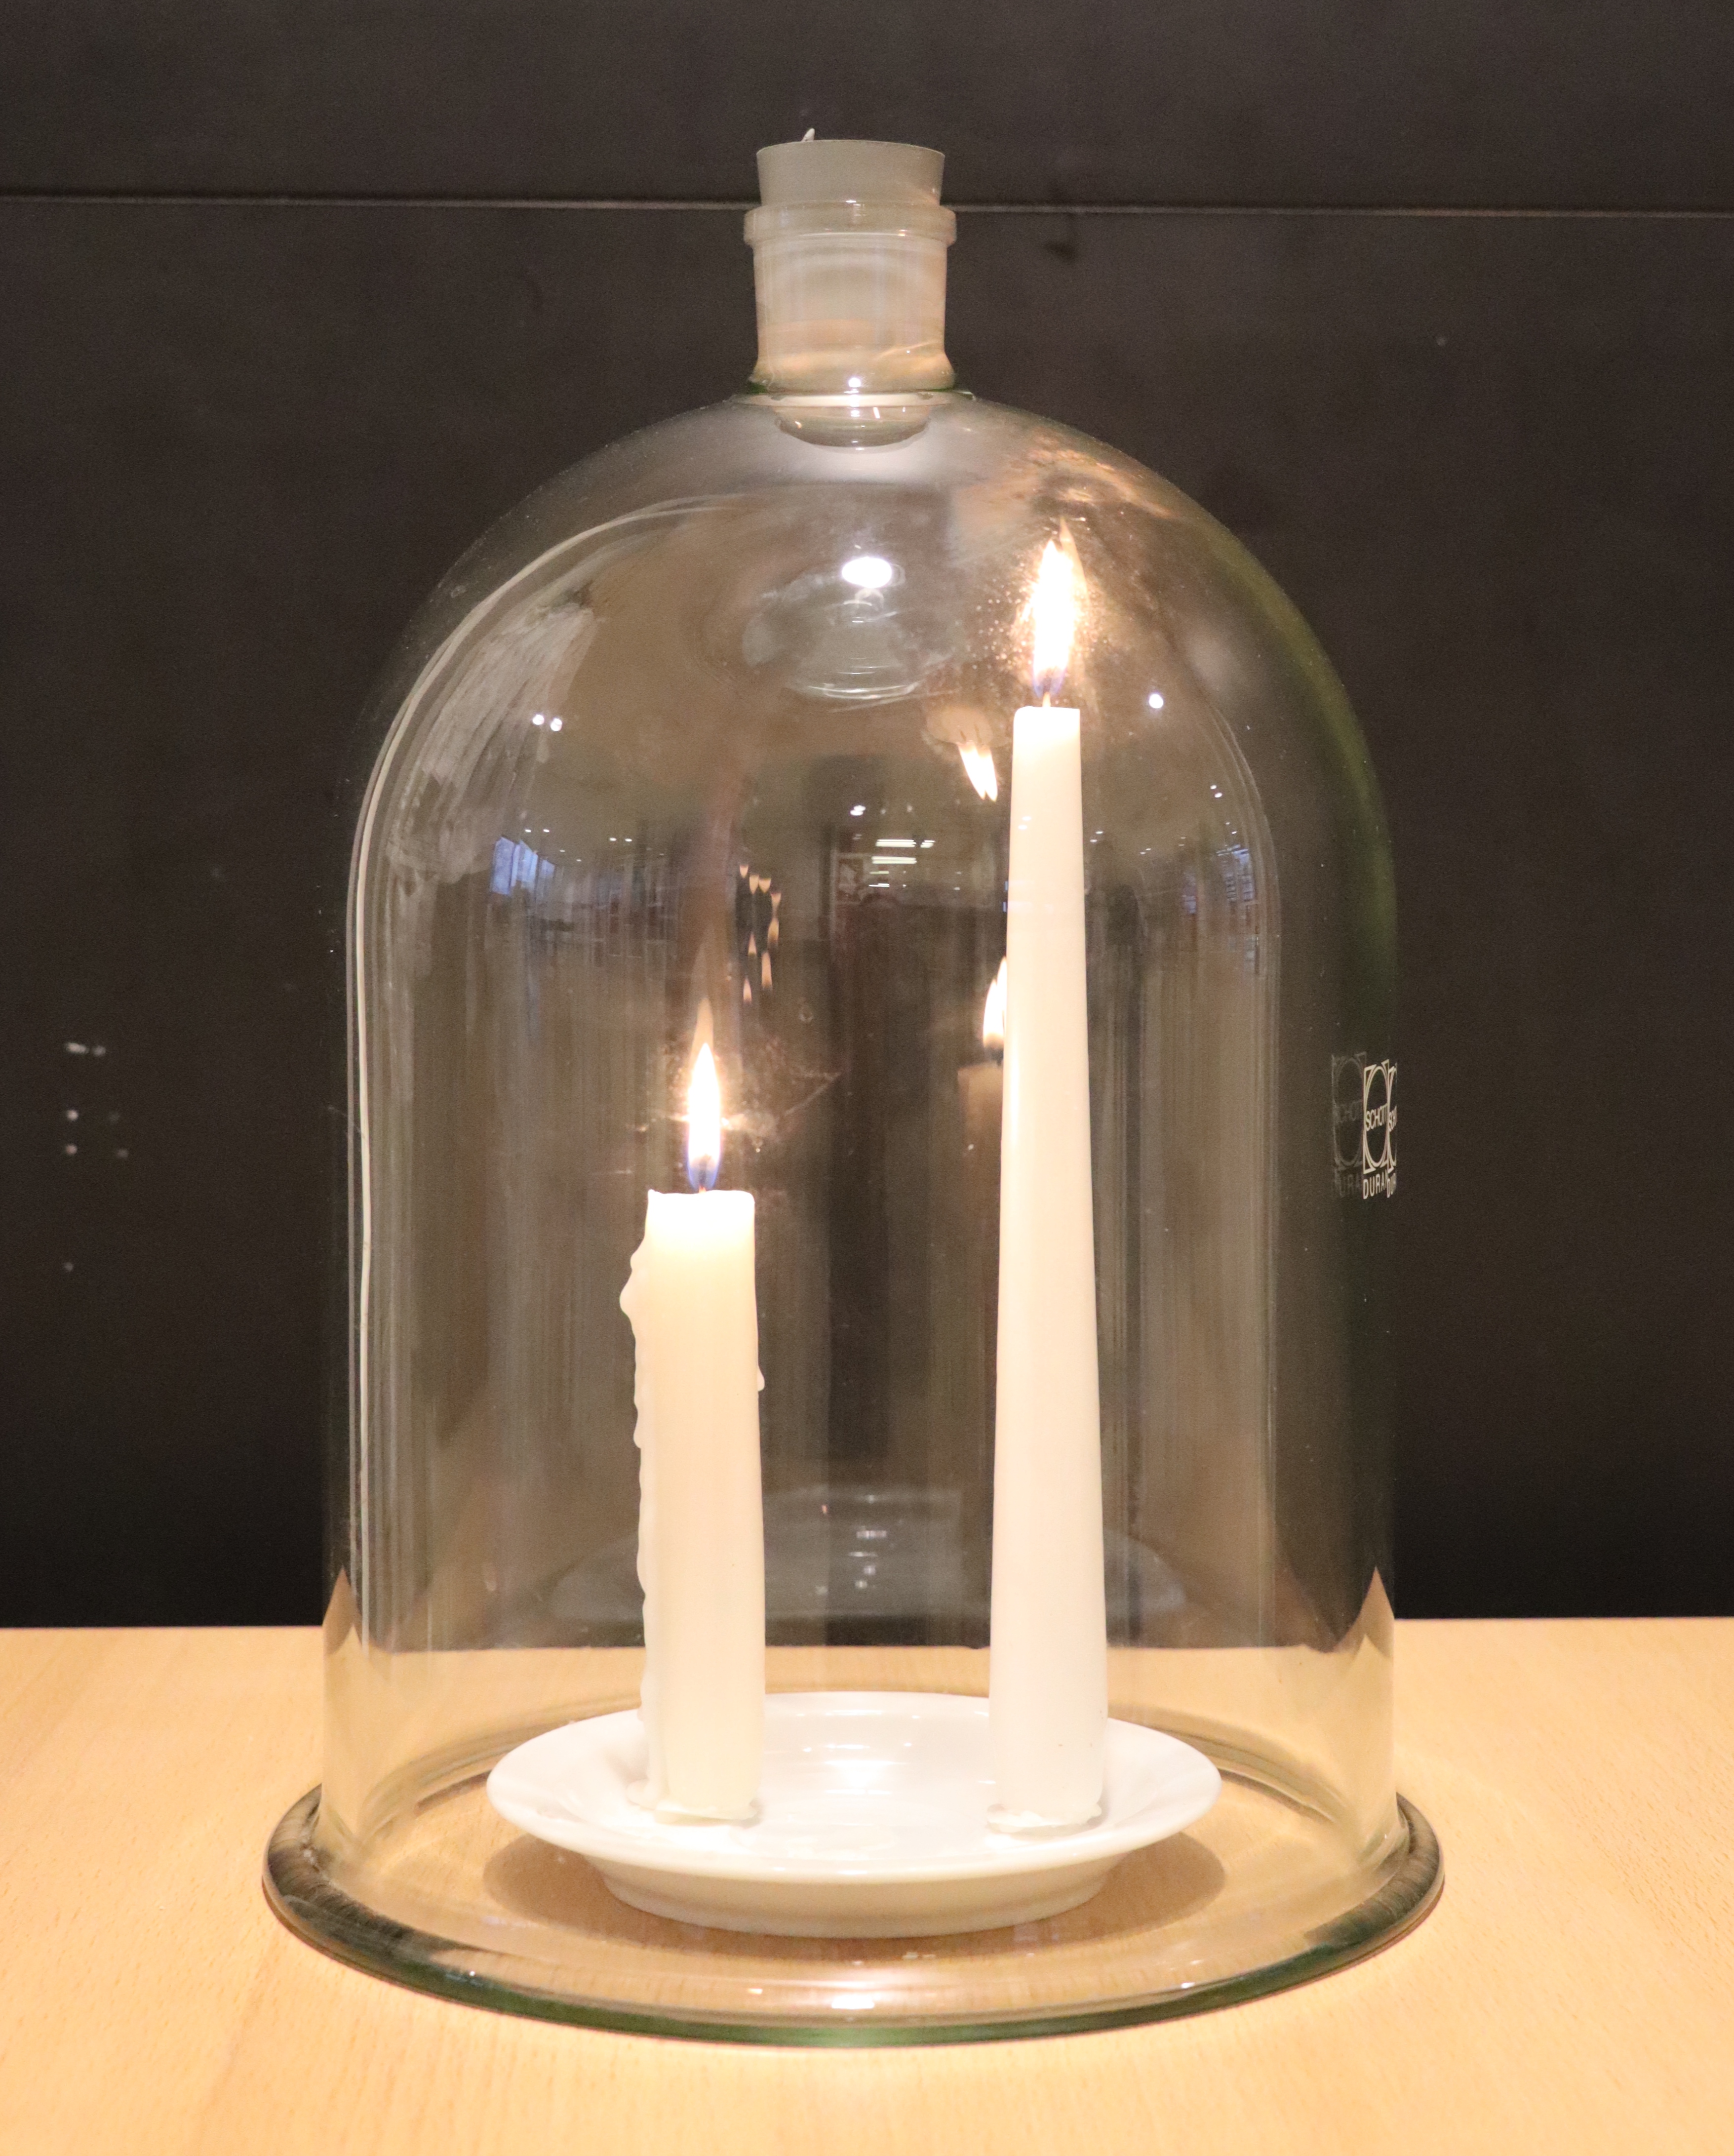
Fig. 14.16 Two burning candles of different lengths inside a sealed glass jar.#
One option is to explain the setup and let the students predict what will happen, then postpone the demonstration until the next lesson. The students will beg you to do the experiment in the same lesson. (In science, you often have to deal with uncertainties and experiments are frequently postponed.)
Equipment#
Two candles of different lengths in a stand (+/- 4/5 cm difference in length)
Matches or lighter
Glass bell jar or glass jar
Cloth to remove the condensed water from the bell jar
Preparation#
Set up the candles so they can easily fit under the bell jar and the bell jar can be placed easily.
Execution#
Light one candle first.
What will happen to the candle when I place it under the bell jar?
Place the candle under the bell jar.
Why does the flame die?
Explain that oxygen is consumed while the candle is burning, producing carbon dioxide and water vapor.
Are both effects inside the bell jar visible?
Ensure the bell jar has a proper oxygen ratio again (blow into the bell jar or swing it around to get rid of the combustion gasses.).
Tell the students that you will now place two candles of different lengths. Ask them which one will go out first and to explain why they think so.
Perform the experiment.
What is the explanation?
What do you expect when we do the experiment again? Do the experiment again.
Did we expect the longer/shorter candle to go out first? What are possible explanations for the outcome?
For the various explanations, how can we verify whether that explanation might be right?
What will happen if we have a taller or wider jar? Will the result be the same?
Physics Background#
There are two plausible explanations:
Without convection: During combustion, warm water vapor and carbon dioxide are produced. The water vapor condenses on the wall of the glass bell jar. The carbon dioxide has a high temperature and therefore a temporarily low density, causing it to rise. It accumulates at the top, forming a layer at the top, so the upper candle goes out first. Oxygen is thus more concentrated in the lower part of the bell jar.
With convection: The hot carbon dioxide rises in the bell jar due to its low density, cools down, and sinks after cooling, creating a convection flow. This flow first reaches the lower candle, which consumes oxygen, so the higher candle gets relatively oxygen-poor air. The upper candle will therefore go out earlier.
You can investigate which explanation is more accurate using CO\(_2\) sensors and temperature sensors under the bell jar. The height of the candles relative to the top of the bell jar may also affect the process.
Tip
For better visibility, place the setup on a raised platform.
After burning the first candle, dry the inside of the bell jar to remove condensed water vapor.
Students associate the smoke from the candle when it goes out with the production of carbon dioxide. However, this is gaseous candle wax that sublimates. The evaporation of candle wax continues for a while. Only if you look very closely can you see the convection flow in the beginning, when the ‘bell jar’ is not yet over both candles. You see the flame of the upper candle move. At the top of the bell jar, you don’t see condensed water vapor because the temperature of the top of the bell jar is very high.
You can also time the demonstrations twice and ask what causes the time difference.