18.4. Rich boiling phenomena#
| Author: | Ron Vonk |
| Time: | 15 minutes |
| Age group: | 14 - 18 |
| Concepts: | Heating, expansion, boiling, condensation, pressure |
Introduction#
Boiling might seem ordinary at first glance, but there’s a lot to observe and explain physically in this seemingly mundane situation.
This demonstration is earlier described in .
Equipment#
Thick-walled Erlenmeyer flask
500 mL beaker or water basin
1 m rubber tubing
Sealing cork or rubber stopper with hole for tubing for the Erlenmeyer
Glass U-tube that fits the tubing
Burner
Tripod
Stand with male connectors and clamps
Slightly colored water
Matches or lighter
Safety goggles
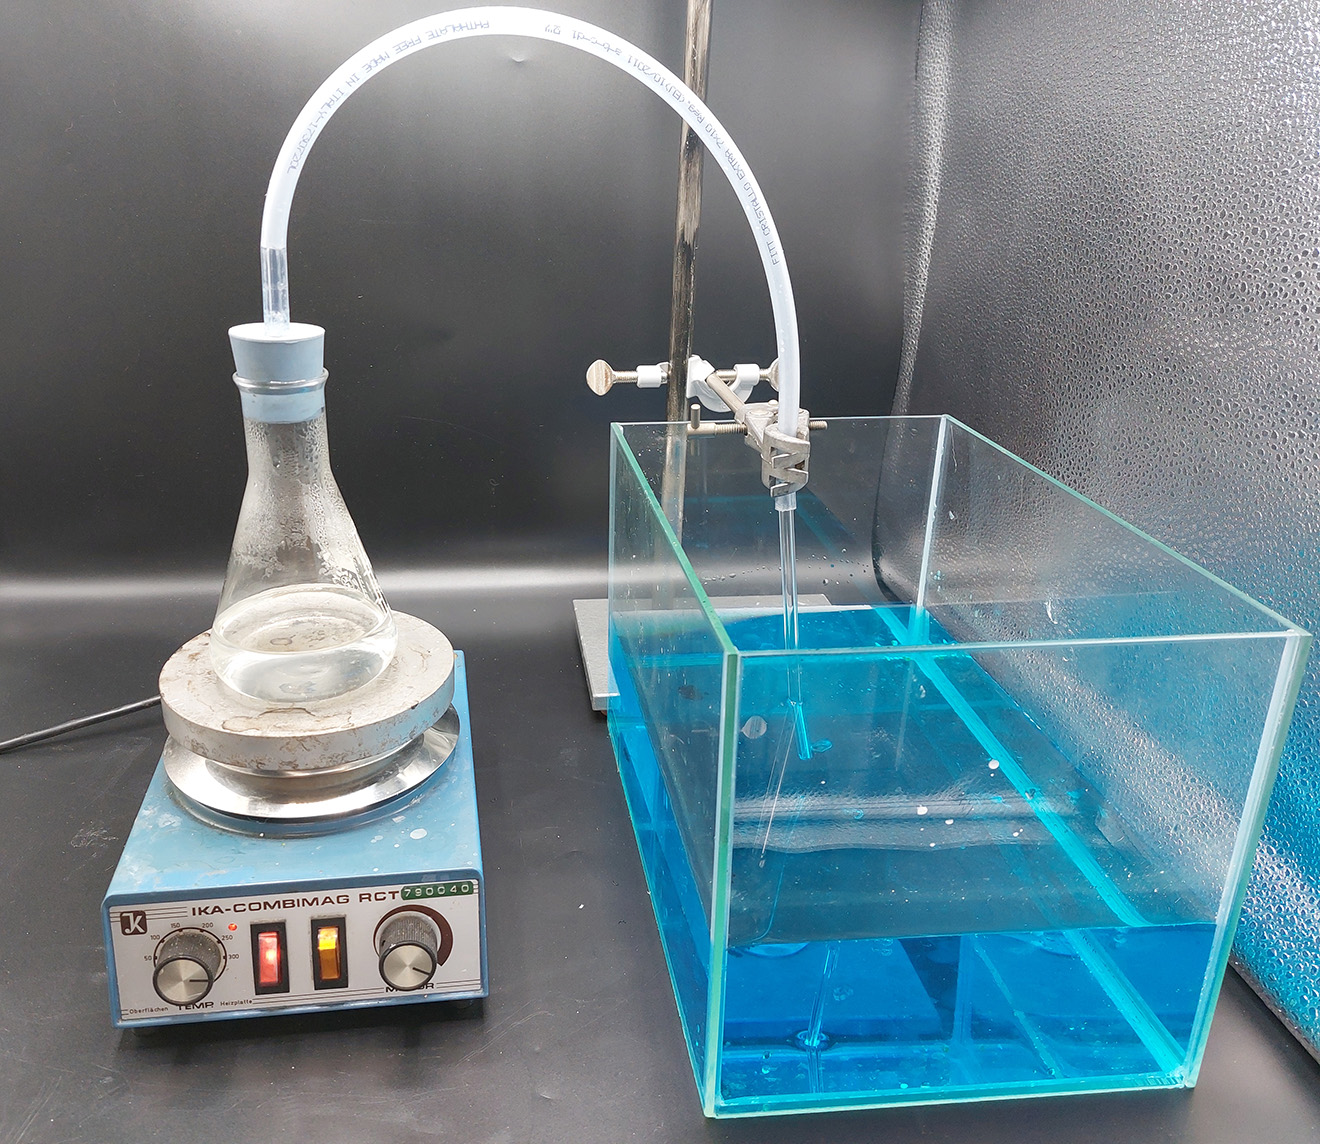
Fig. 18.10 The setup of the experiment.#
Preparation#
Prepare the setup:
Fill the 500 mL beaker with water and color it slightly.
Put a layer of 1 to 2 cm water in the Erlenmeyer and seal it with the stopper + tubing. Place it on the tripod and secure the whole to the stand.
Hang the tubing in the water of the beaker, ensuring the end is a few cm below the water surface.
Warning
There is a risk that the Erlenmeyer flask will burst due to contact with the cold water. That is why we recommend safety glasses.
Procedure#
Teacher: We are going to heat the water in the Erlenmeyer flask until it boils. What will you see in the beaker or water container while the water is heated and not yet boiling and why? Students write their individual predictions in the table (see below).
Teacher: What will you see in the beaker when the water in the Erlenmeyer flask boils and why?
Now turn on the burner, bubbles will soon appear in the beaker/water container.
Teacher: What are those bubbles made of? What causes the bubbles? (see Can it be air?)
After the water in the Erlenmeyer flask boils, the bubbles decrease and the bubbles stop.
Teacher: How did that happen? What are they made of?
Teacher: We will remove the burner, what will happen in the Erlenmeyer flask? Why?
Burner is removed. The water stops boiling, but then suddenly starts boiling again. At the same time, water is sucked back from the beaker and the Erlenmeyer flask quickly fills up.
Teacher: Describe what you see and explain what happens.
Phase |
Predict |
Explain |
Observe |
Explain |
|---|---|---|---|---|
Describe what you expect to see |
Explain your prediction |
Describe what happens |
Explain what happens |
|
1. What is to be seen in the beaker or the water bath while the water in the Erlenmeyer flask is being heated? |
||||
2. What is to be seen in the beaker or the water bath when the water in the Erlenmeyer flask boils? |
||||
3. What will be seen in the Erlenmeyer flask after the burner is turned off? |
Physics background#
When the Erlenmeyer flask is heated, the air inside it expands. This means you see large bubbles in the beaker. As the water becomes hot, proportionately more water vapor enters the air at the top of the Erlenmeyer flask. The air bubbles in the beaker become smaller because the water vapor part condenses as soon as it arrives in the beaker. When the water in the Erlenmeyer flask boils, the last air is pushed through the tube (small bubbles) and replaced by water vapor. This condenses along the way through the tube. There are now much smaller bubbles or no bubbles anymore.
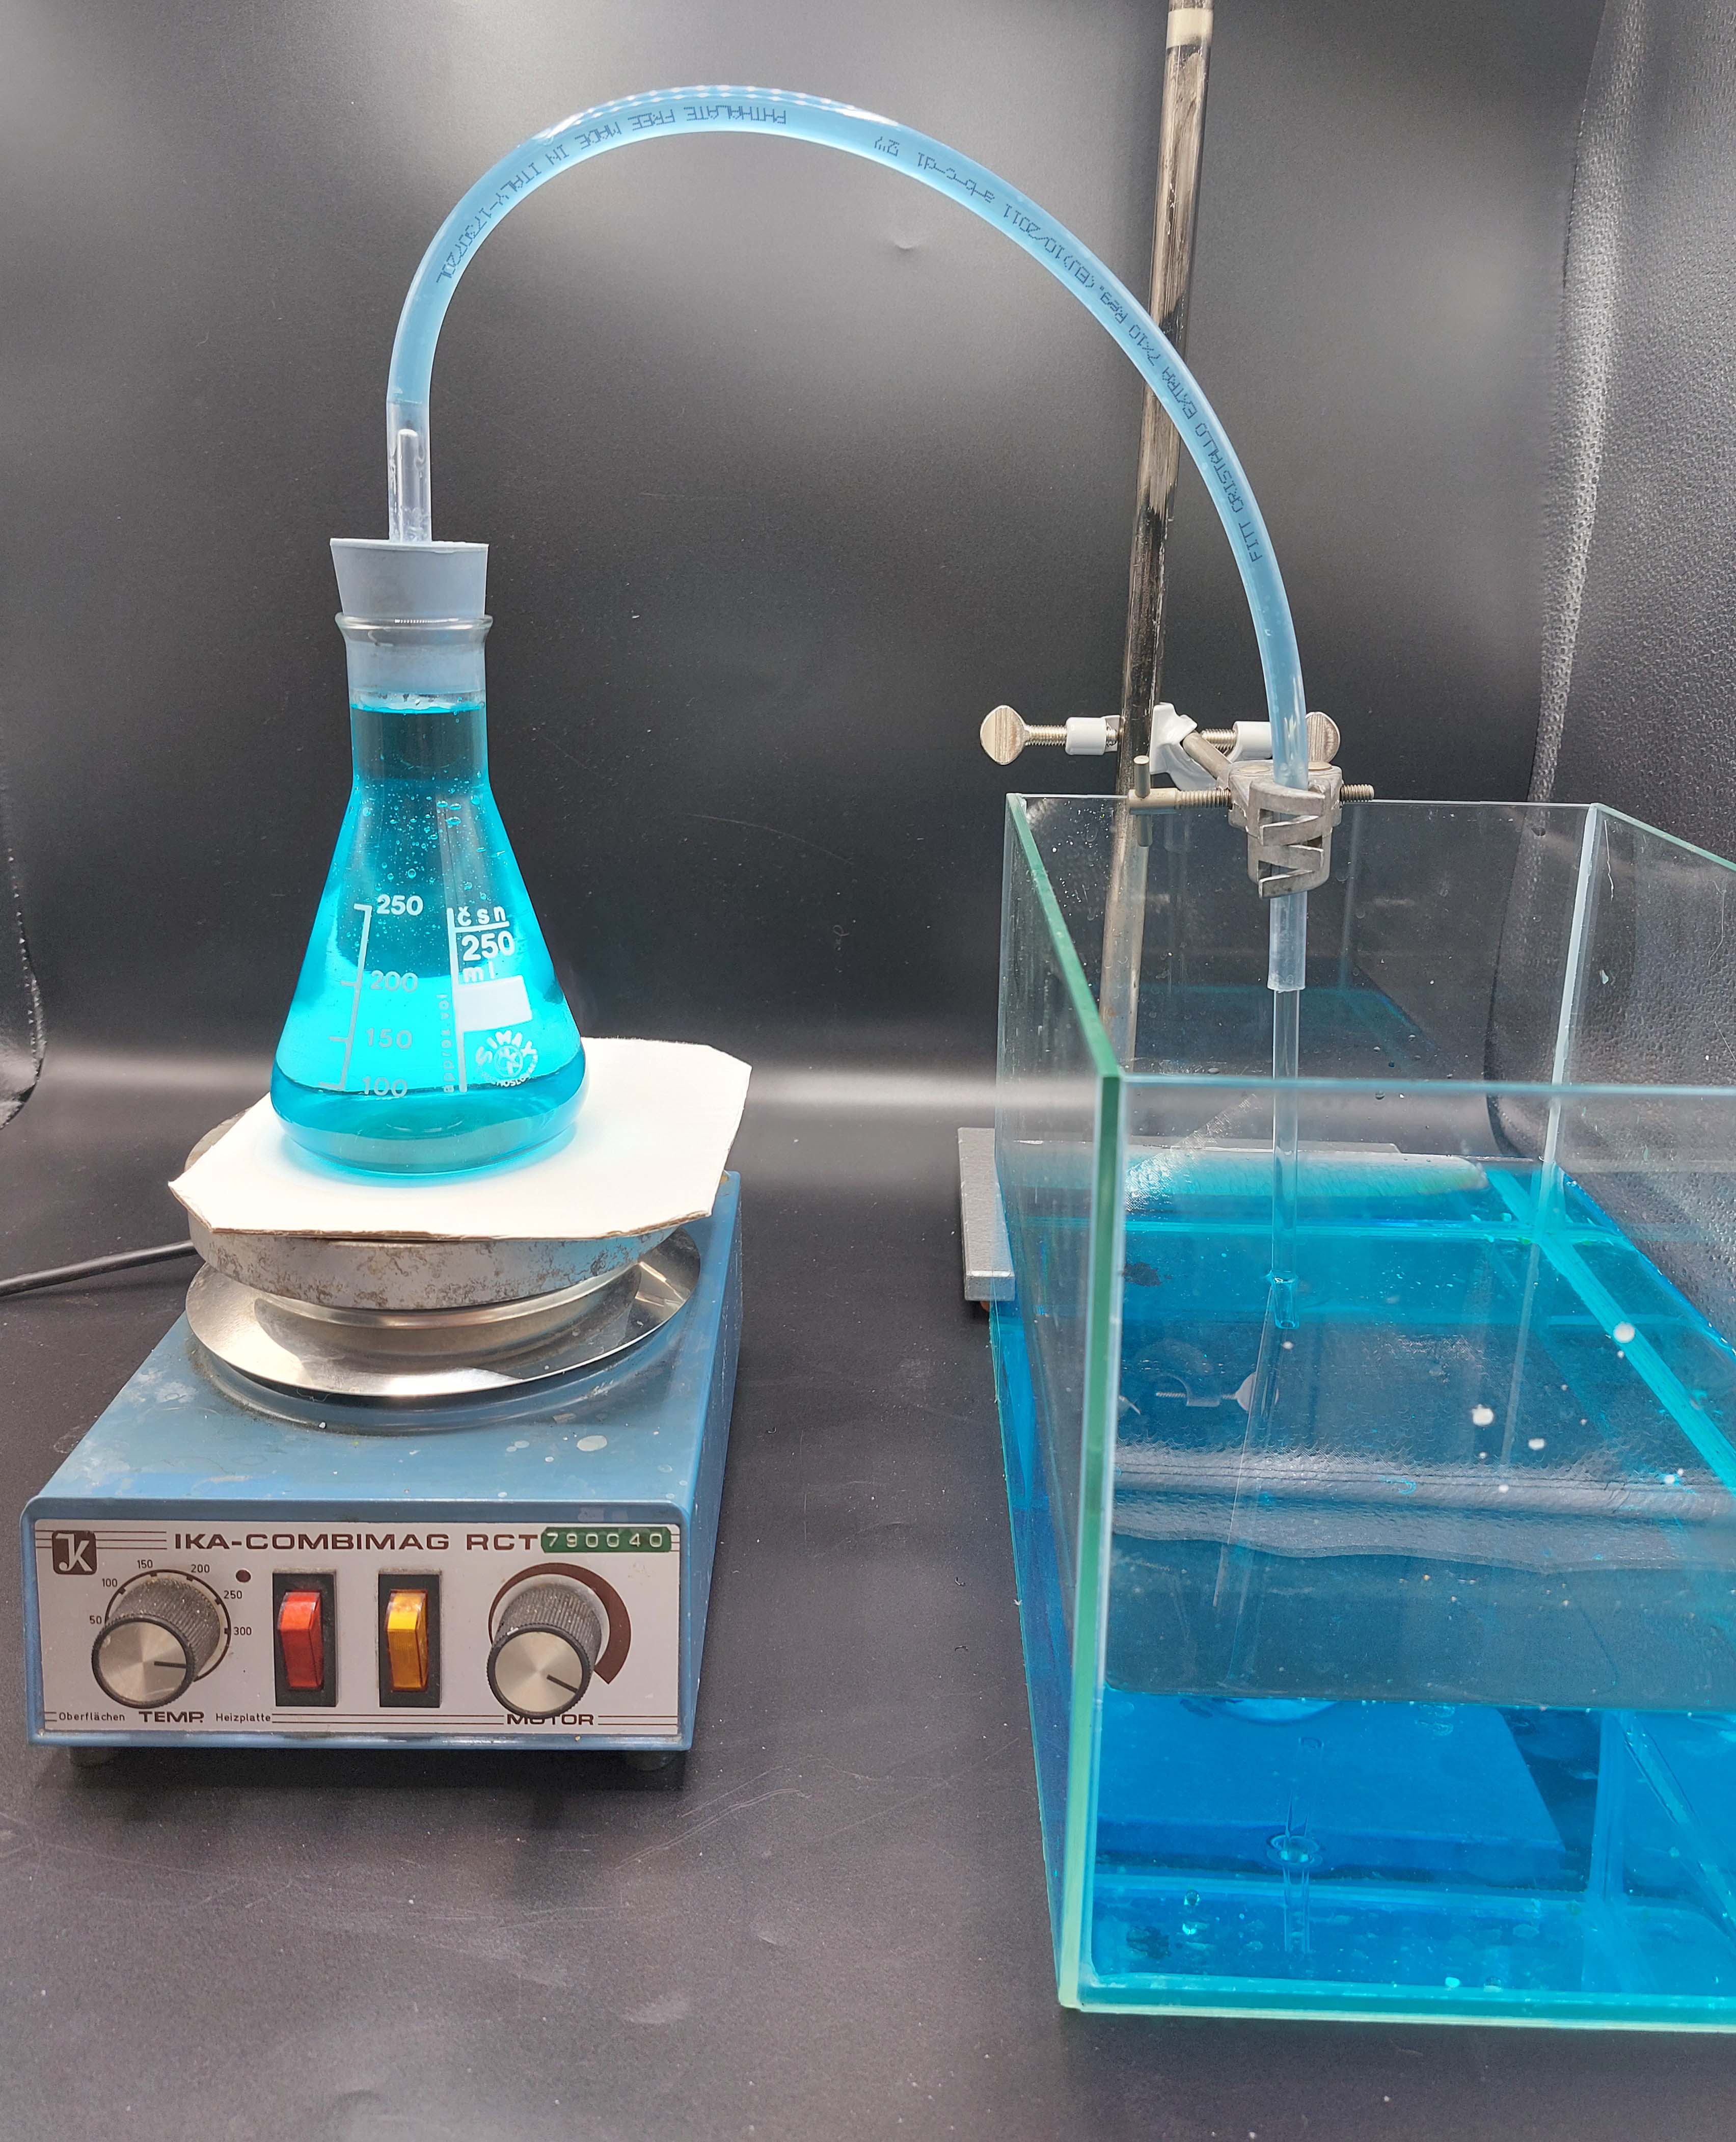
Fig. 18.11 The flask is fully filled with water at the end of the demonstration.#
After the burner is turned off, the boiling stops; the water vapor in the Erlenmeyer flask condenses quickly. Due to the sharp drop in pressure, the water starts to boil again. In addition, cold water is drawn in from the beaker. The Erlenmeyer flask fills up easily. In this phase, large forces act on the Erlenmeyer flask.
Tip
A complete description (Dutch) can be found here.