2.3. Setting-up VS Code#
A very useful feature of VS Code is its support of various programming languages - if you decide to work with another language or with several languages in parallel in the future, you can do it all within VS Code. Let’s open your VS Code to start exploring its features.
Can’t find VS Code on your Mac?
If you’ve installed and closed VS Code, and cannot seem to find it anymore on your Mac, press command + Space bar to open Spotlight search, type in “Visual Studio Code”, and you’ll find VS Code. Once it’s open, it may be handy to make a shortcut to VS Code to make it quickly accessible in the future. To do that, drag VS Code app icon to the left side of the line that separates recently used apps in the Dock (tool bar at the bottom of your screen). For more instructions on the Dock, check the Mac user guide.
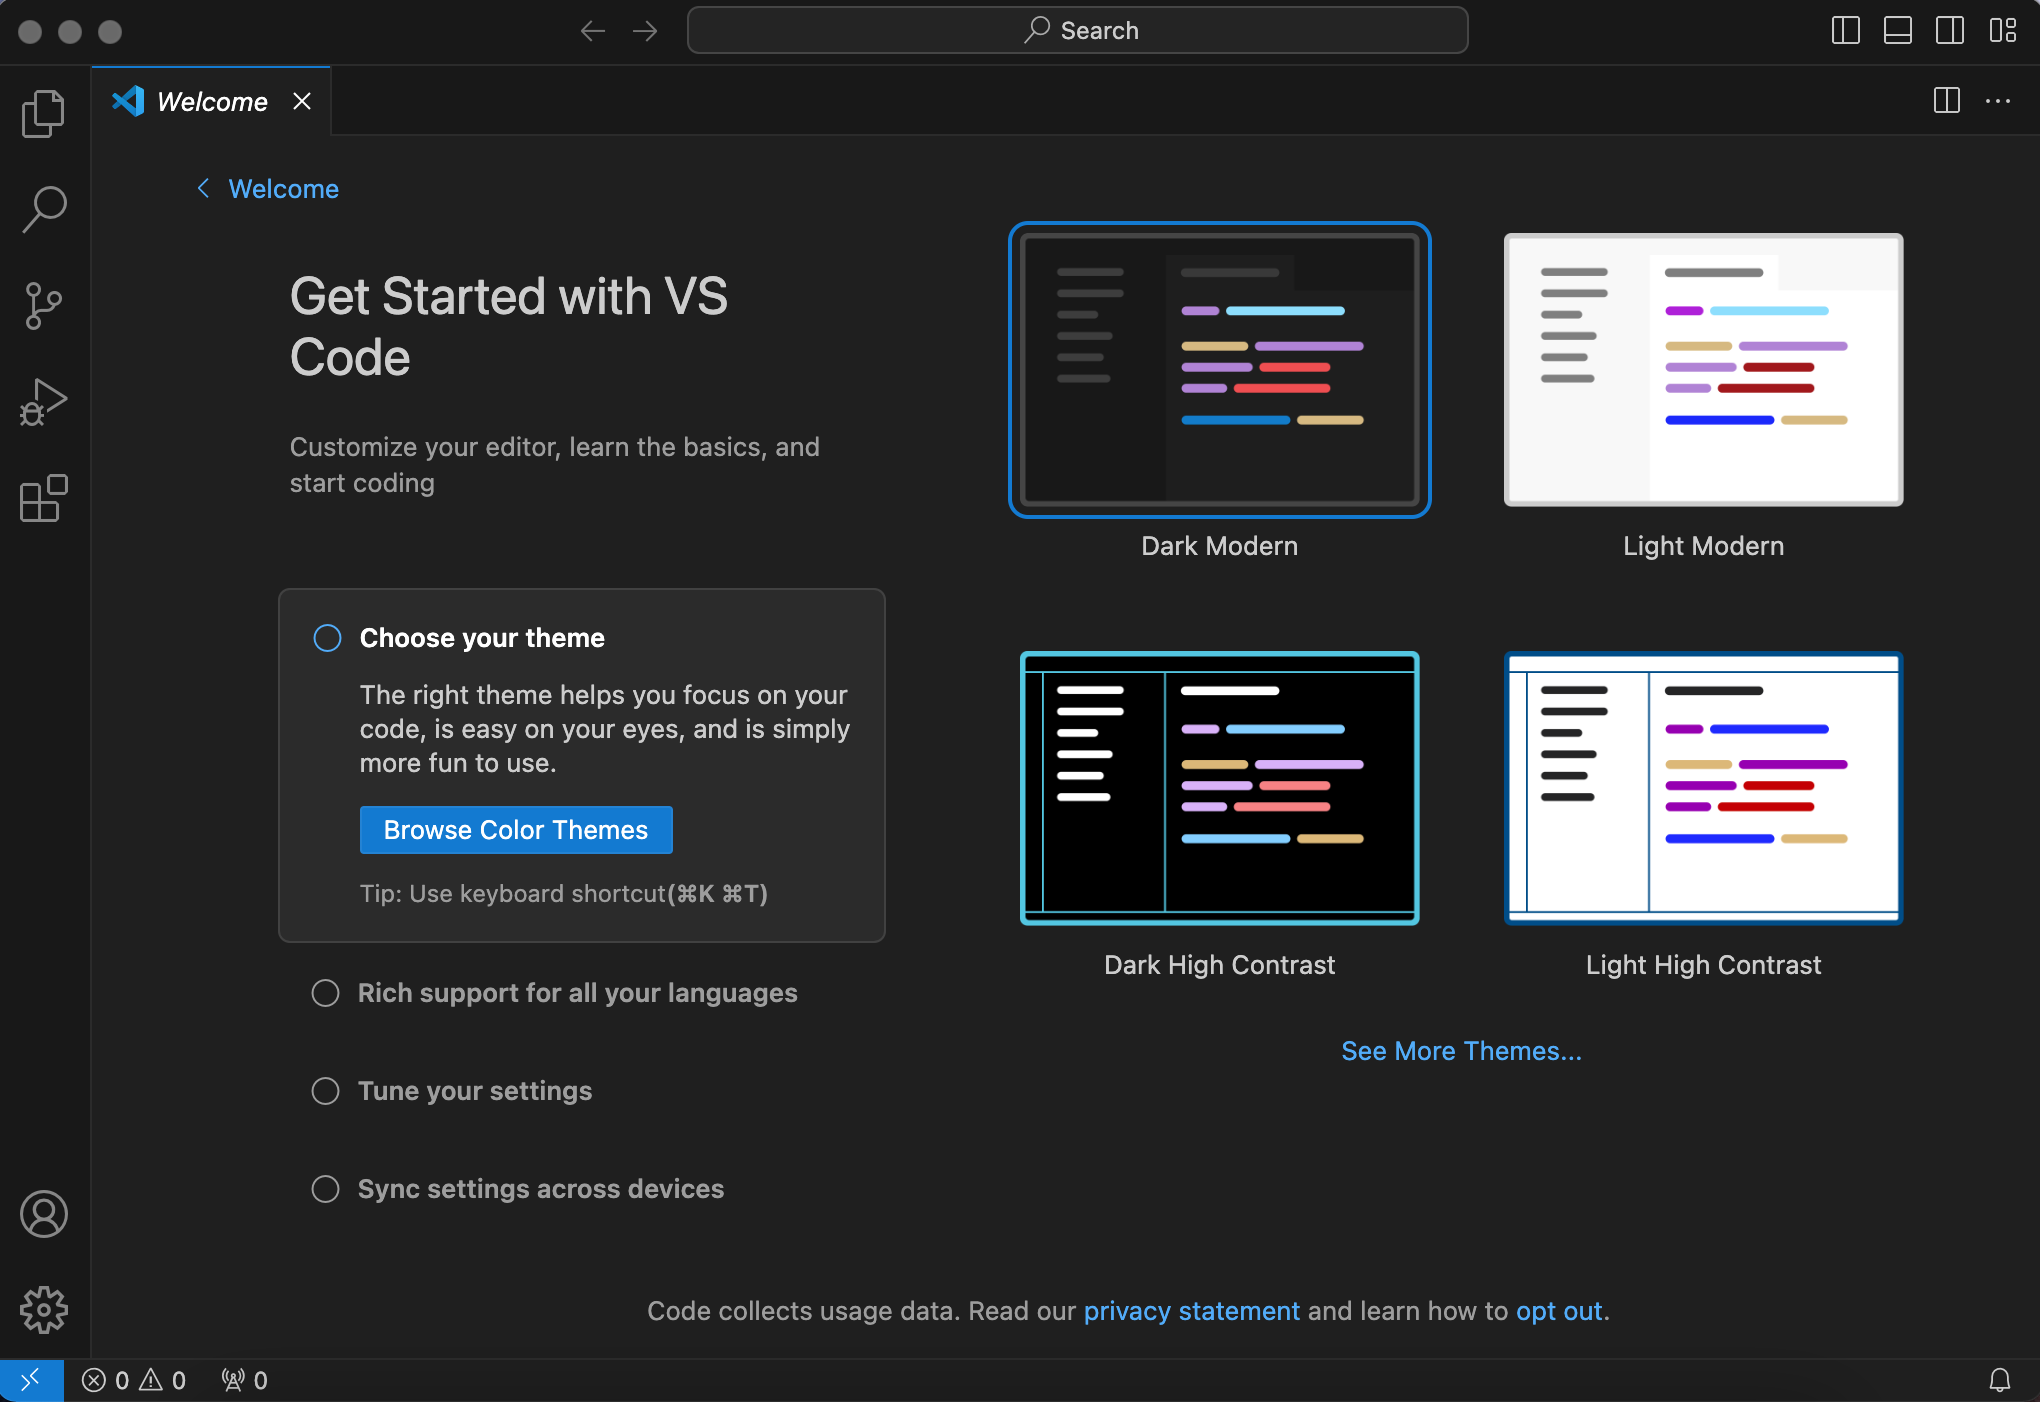
2.3.1. Theme#
When you first start VS Code, you will automatically be asked to choose your theme, i.e., the appearance of your coding environment. Choose whichever one you like the most.
Dark or light theme?
Some find dark mode better for readability, while others praise the light one for helping people with dyslexia (you can read more here).
You can also change the theme at a later point in time and browse for more options by following the instructions here.
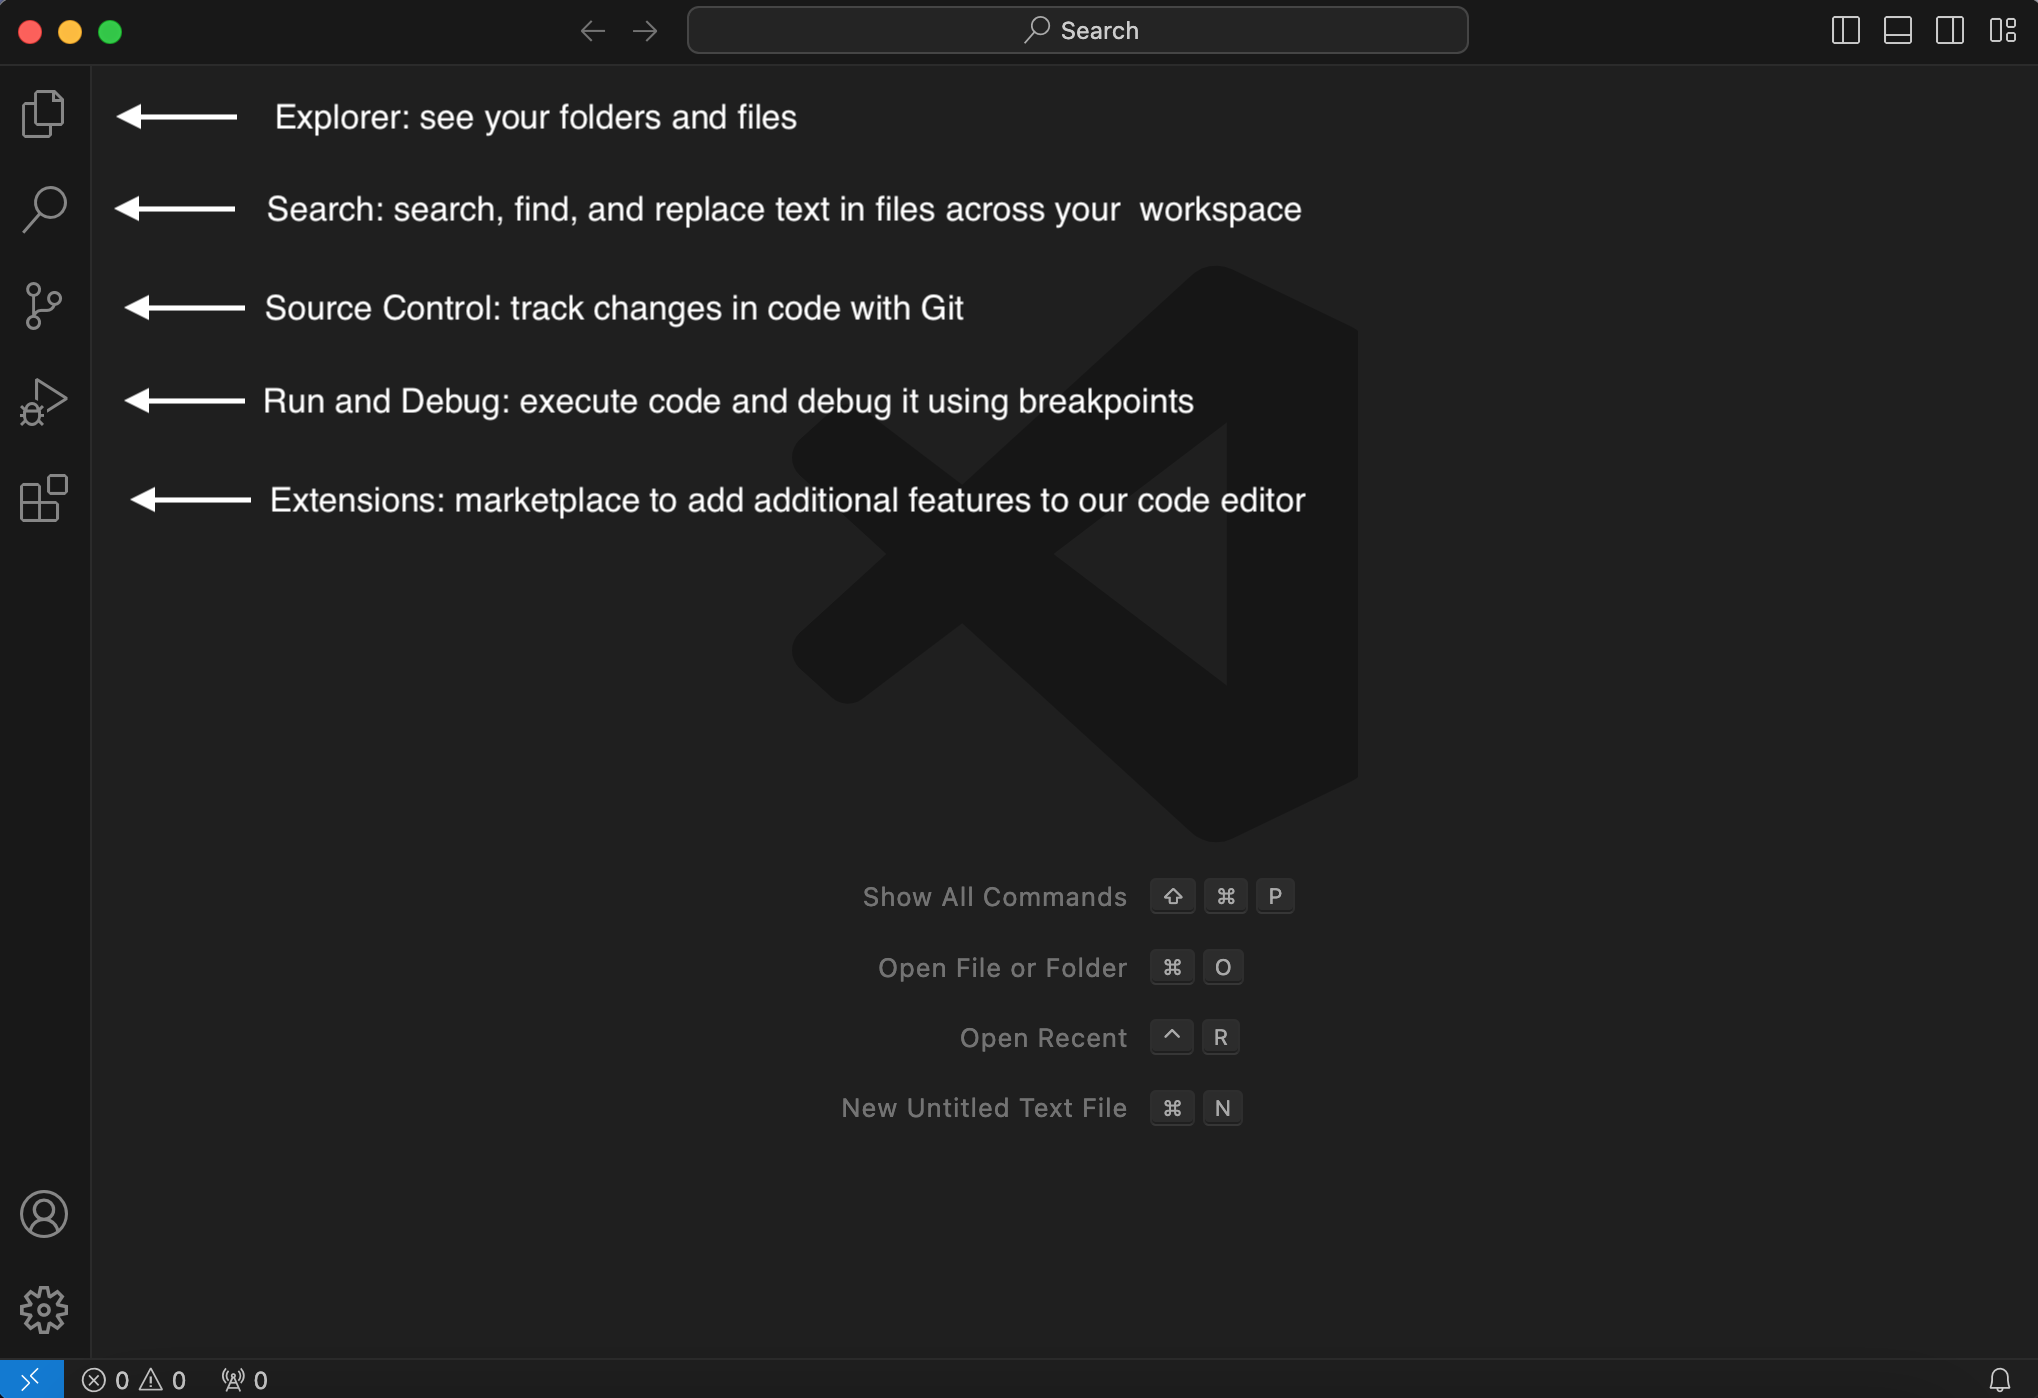
2.3.2. Activity bar#
Next, familiarize yourself with VS Code’s activity bar on the left side:
2.3.3. Workspace#
To start working in VS Code, you need to open a folder to set your workspace. We recommend creating a new folder Programming-Foundations/ in your home directory. Inside the new folder Programming-Foundations/, create another folder called Getting-Started/. From within VS Code, click File > Open Folder… and select Getting-Started/ (or whichever folder you decided to use for coding).
Hint
If prompted whether you trust the authors of the files in this folder, select the “Trust” option and press “Yes, I trust the authors”.
How to find your home directory
Your home directory is the folder that contains your Documents folder, your Downloads folder, and many others. It is called Home in your file explorer and often labeled with a little house icon.
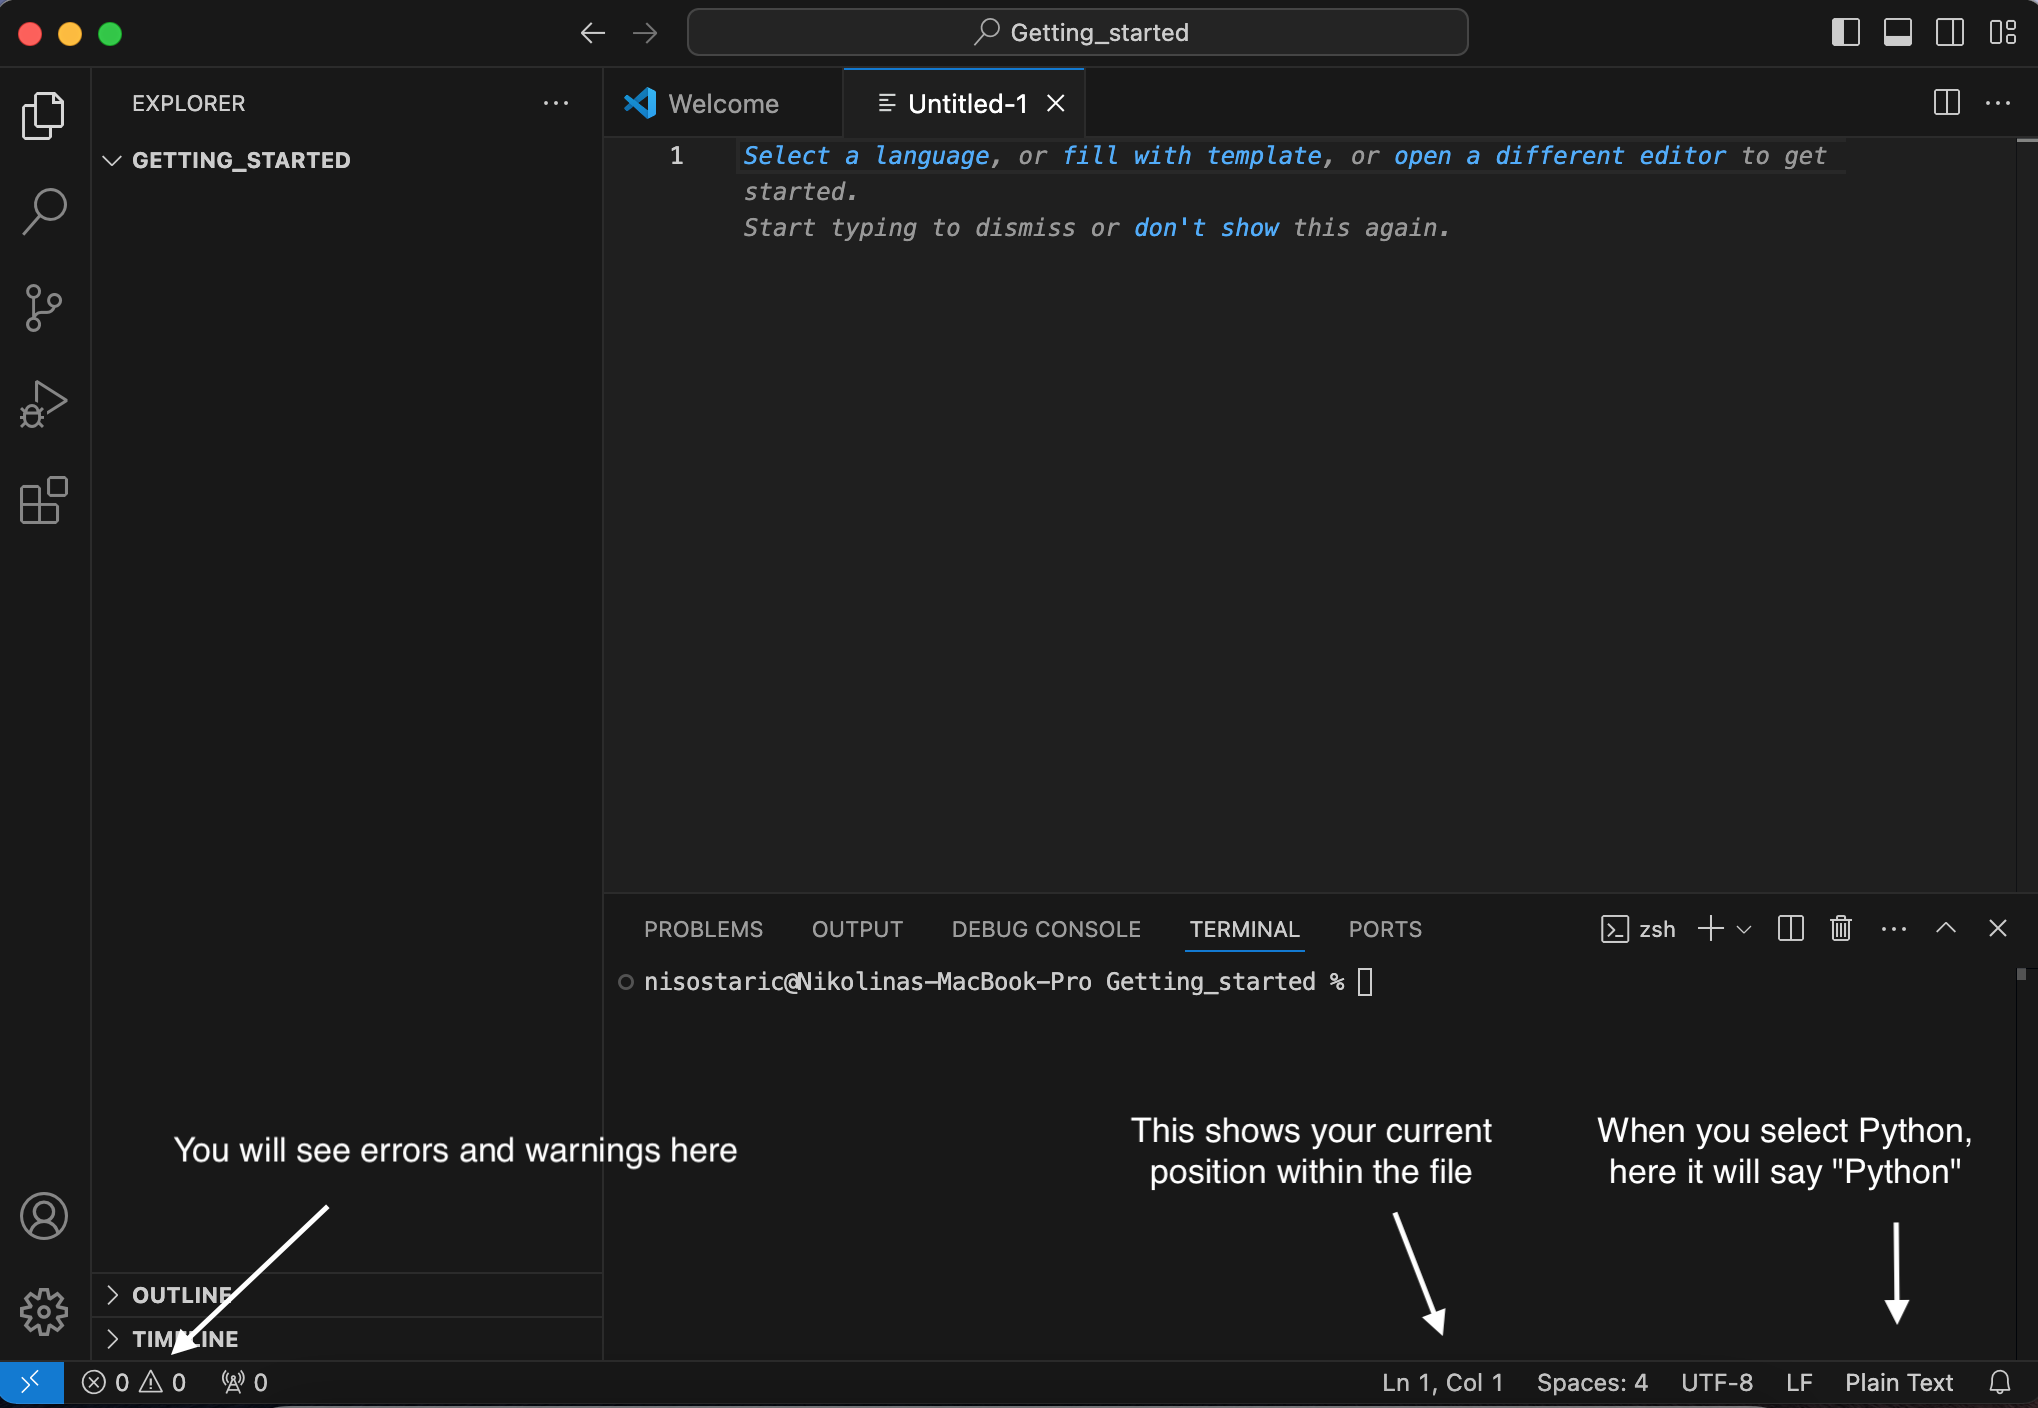
2.3.4. Terminal#
Next, press View > Terminal. This will open an additional part in your VS Code workspace, with tabs such as Problems, Output, Debug console, and Terminal. We will get acquainted with Terminal in the next chapter, and some of the other tabs in later chapters.

(Windows) Using Git Bash as your VS Code terminal
If you have installed Git Bash, you can also use it as your VS Code terminal. After opening your VS Code terminal, simply click the downward arrowhead ⌄ in the bar above the terminal and select Git Bash. If you want to set your VS Code terminal to be Git Bash by default, you can do so under Select Default Profile.
2.3.5. New Python file#
To start your first Python script, click on New File. When prompted, select Text file (Built-In). In the bottom status bar, you can see that your file type is plain text.
2.3.6. Python extension#
As you have noticed, you are asked to select a programming language, so let’s click on “Select a language” and select Python. Notice the change in the status bar. You will also see a pop-up window at the bottom right corner asking if you want to install the recommended ‘Python’ extension from Microsoft for the Python language. Select “Install” and wait for the installation to finish in the Extensions part of the activity bar. If you are already asked to select your interpreter as a prompt on the search box, select python 3.13.x (pf-env) .... This is the environment you created earlier.
If you haven’t been prompted to choose your interpreter, do the following:
Click on the VS Code search bar at the top of your screen.
Type
>, but do not hit enter yet.Type
Python: Select Interpreterto bring up the actionPython: Select Interpreter. Select this action.Select environment
python 3.13.x (pf-env) .... Thexand the...will be a number and a path on your device respectively.
2.3.7. IntelliSense#
Back in your Python file, start typing “pri”. You will notice that VS Code is trying to read your mind and suggest options of what you may want to type. Among these options is print, which is indeed what you wanted to write, so you can go ahead and press Tab or Enter to fill in the full word. This smart completion is called IntelliSense and is included in the Python extension you installed in the previous step.
2.3.8. Executing code#
Let’s write your full first lines of Python code. Type in the following in VS Code:
print("Hello world")
print("Goodbye")
Save this file as my_first_code.py and then press Run Python file (the “play” icon on the top right) or right-click > Run Python > Run Python File in Terminal to execute this code. The output will show up in the terminal at the bottom of VS Code.
Note that you can also run selected lines of code if you mark them and then press Shift+Enter or right-click and select Run Python > Run Selection/Line in Python Terminal. This is convenient for testing a part of the code.
2.3.9. Auto-save#
Now let’s make a change and add an exclamation point to our Hello world:
print(“Hello world!”)
You will notice a dot appearing next to your file name, indicating that you have some unsaved changes. To automatically save all your changes as soon as you make them, navigate to File > Auto Save.
2.3.10. Tips and tricks#
Mastering a few key shortcuts in VS Code can make coding faster and smoother, for example:
Commenting code: Press
Ctrl+/(orCmd+/on macOS) to comment or uncomment the selected line or block of code. This works for both single and multiple lines.Indenting: Press
Tabto indent an entire paragraph or block of selected code. UseShift+Tabto unindent.Wrapping in brackets: Highlight any text or code, then press an opening bracket like
(,{,[, or". VS Code will automatically wrap the entire selection with matching brackets or quotes.
For more useful keyboard shortcuts, visit the VS Code page for Windows, macOS, or Linux.