2.1. Software installation#
Hands-on experience with Python coding is an essential part of mastering the skill of programming. To do this on your laptop, you will need to install the necessary software.
This page guides you through the installation steps for:
Visual Studio Code (VS Code)
Git
Miniconda
When installing individual components, you always have to make sure to follow the appropriate instructions depending on the operating system of your laptop (Windows, macOS, or Linux).
Where both textual and video instructions are available, we recommend following the video ones, as they include extra tips and tricks and are generally easier to follow. Make sure to follow the installation order as presented in this book or in the installation guide playlist, which contains all the videos in the specific required sequence:
Windows installation and setup playlist
macOS installation and setup playlist
2.1.1. Visual Studio Code#
To write Python code, you will use an integrated development environment (IDE) called Visual Studio Code (VS Code), which you can use to write, test, and debug your code. VS Code generally works well on various operating systems (Windows, macOS, Linux) and supports multiple programming languages besides Python, which may come in handy in the future should you decide to use another language. Of course, there is a choice of available IDEs, so in the future you may also choose to use a different one (PyCharm and Spyder are popular choices).
Installation steps:
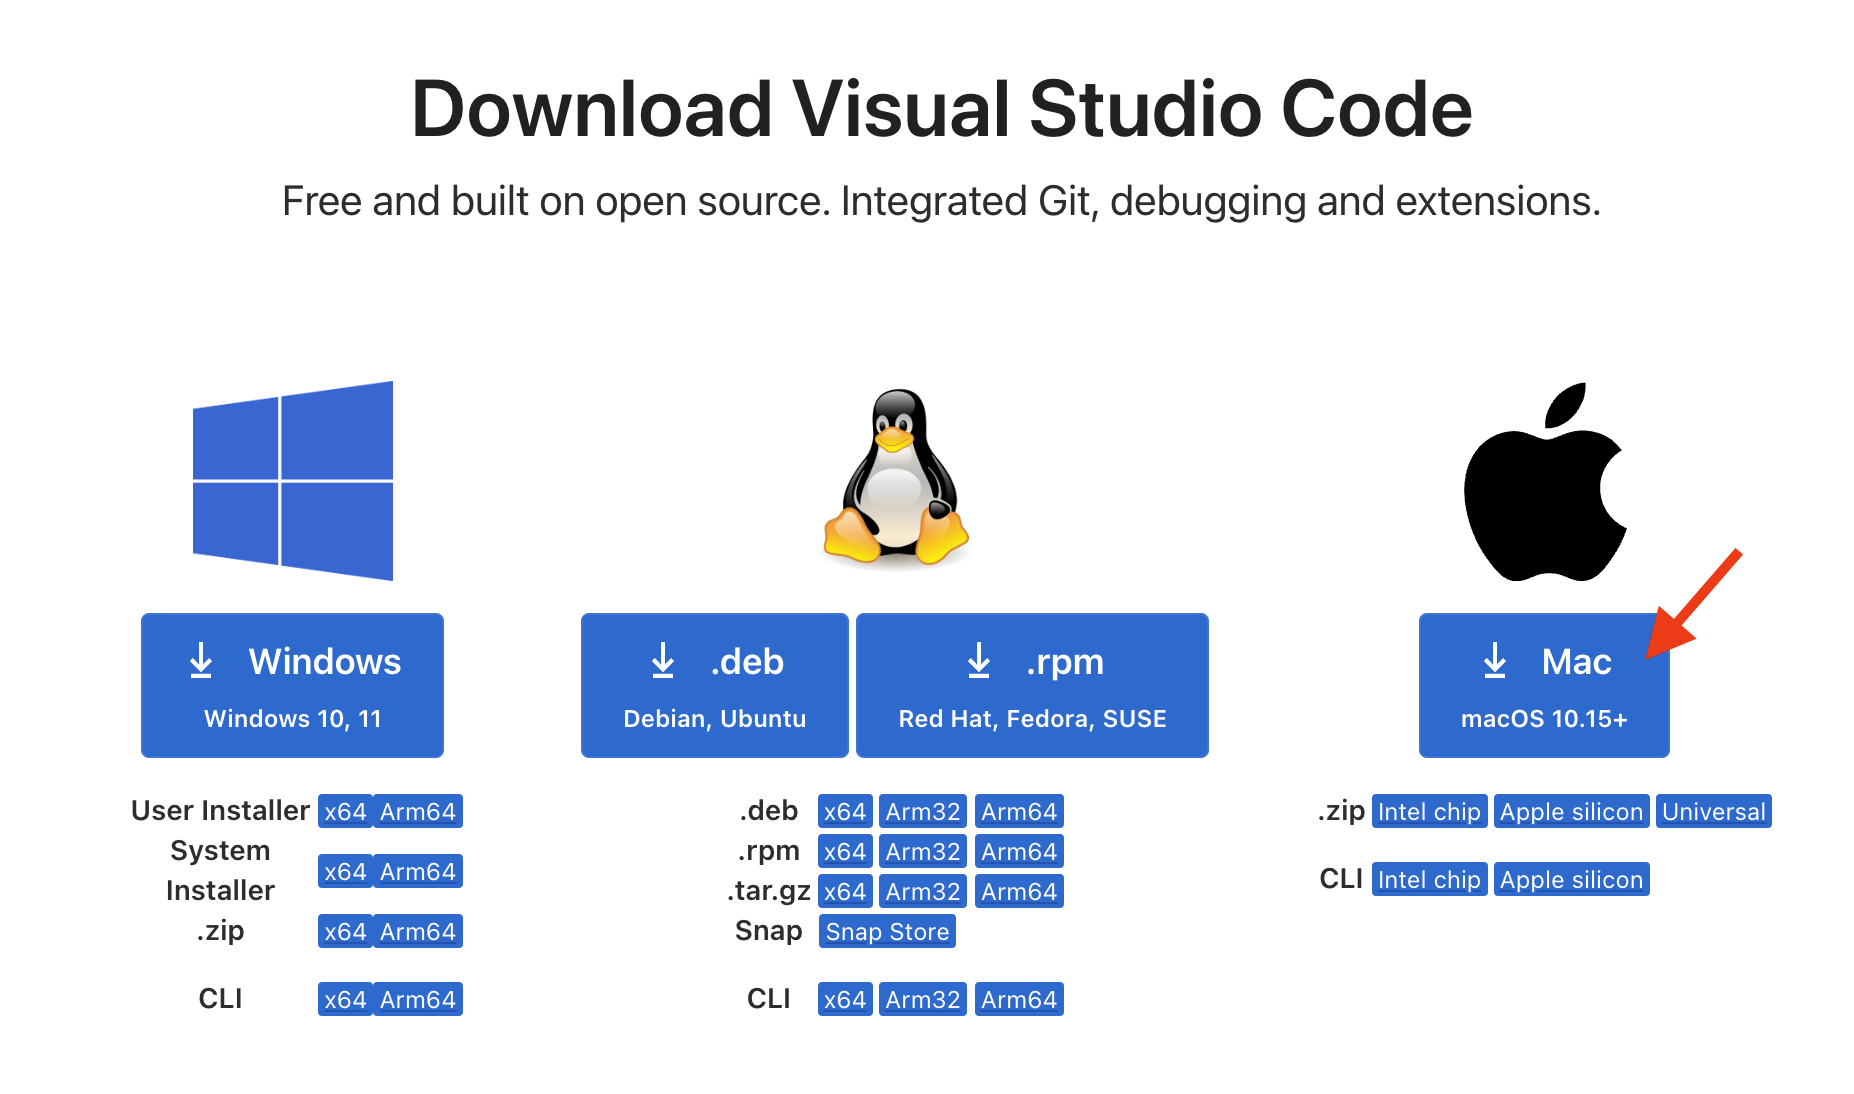
Go to Download Visual Studio Code.
Download the
.exefile for Windows.Follow the default settings.
This will directly launch a VS Code window. If you notice a “release note” opened as a tab in VS code, you can close the tab.
You now have VS Code installed. We will go through its setup and basic usage on the next book page.
Installation steps:
Navigate to this website and click on the Download icon for Mac. The download will happen either immediately, or you may need to press “Allow” when asked whether you want to allow the download.
Navigate to the downloaded file. The downloaded file will be either:
A zip file: double-click on it to unzip it, and then open the unzipped VS Code application, or
VS Code application: double-click on it to open it. If you’re asked whether you’re sure if you want to open this app, press “Open”. VS Code should then open and you should see the screen such as this:
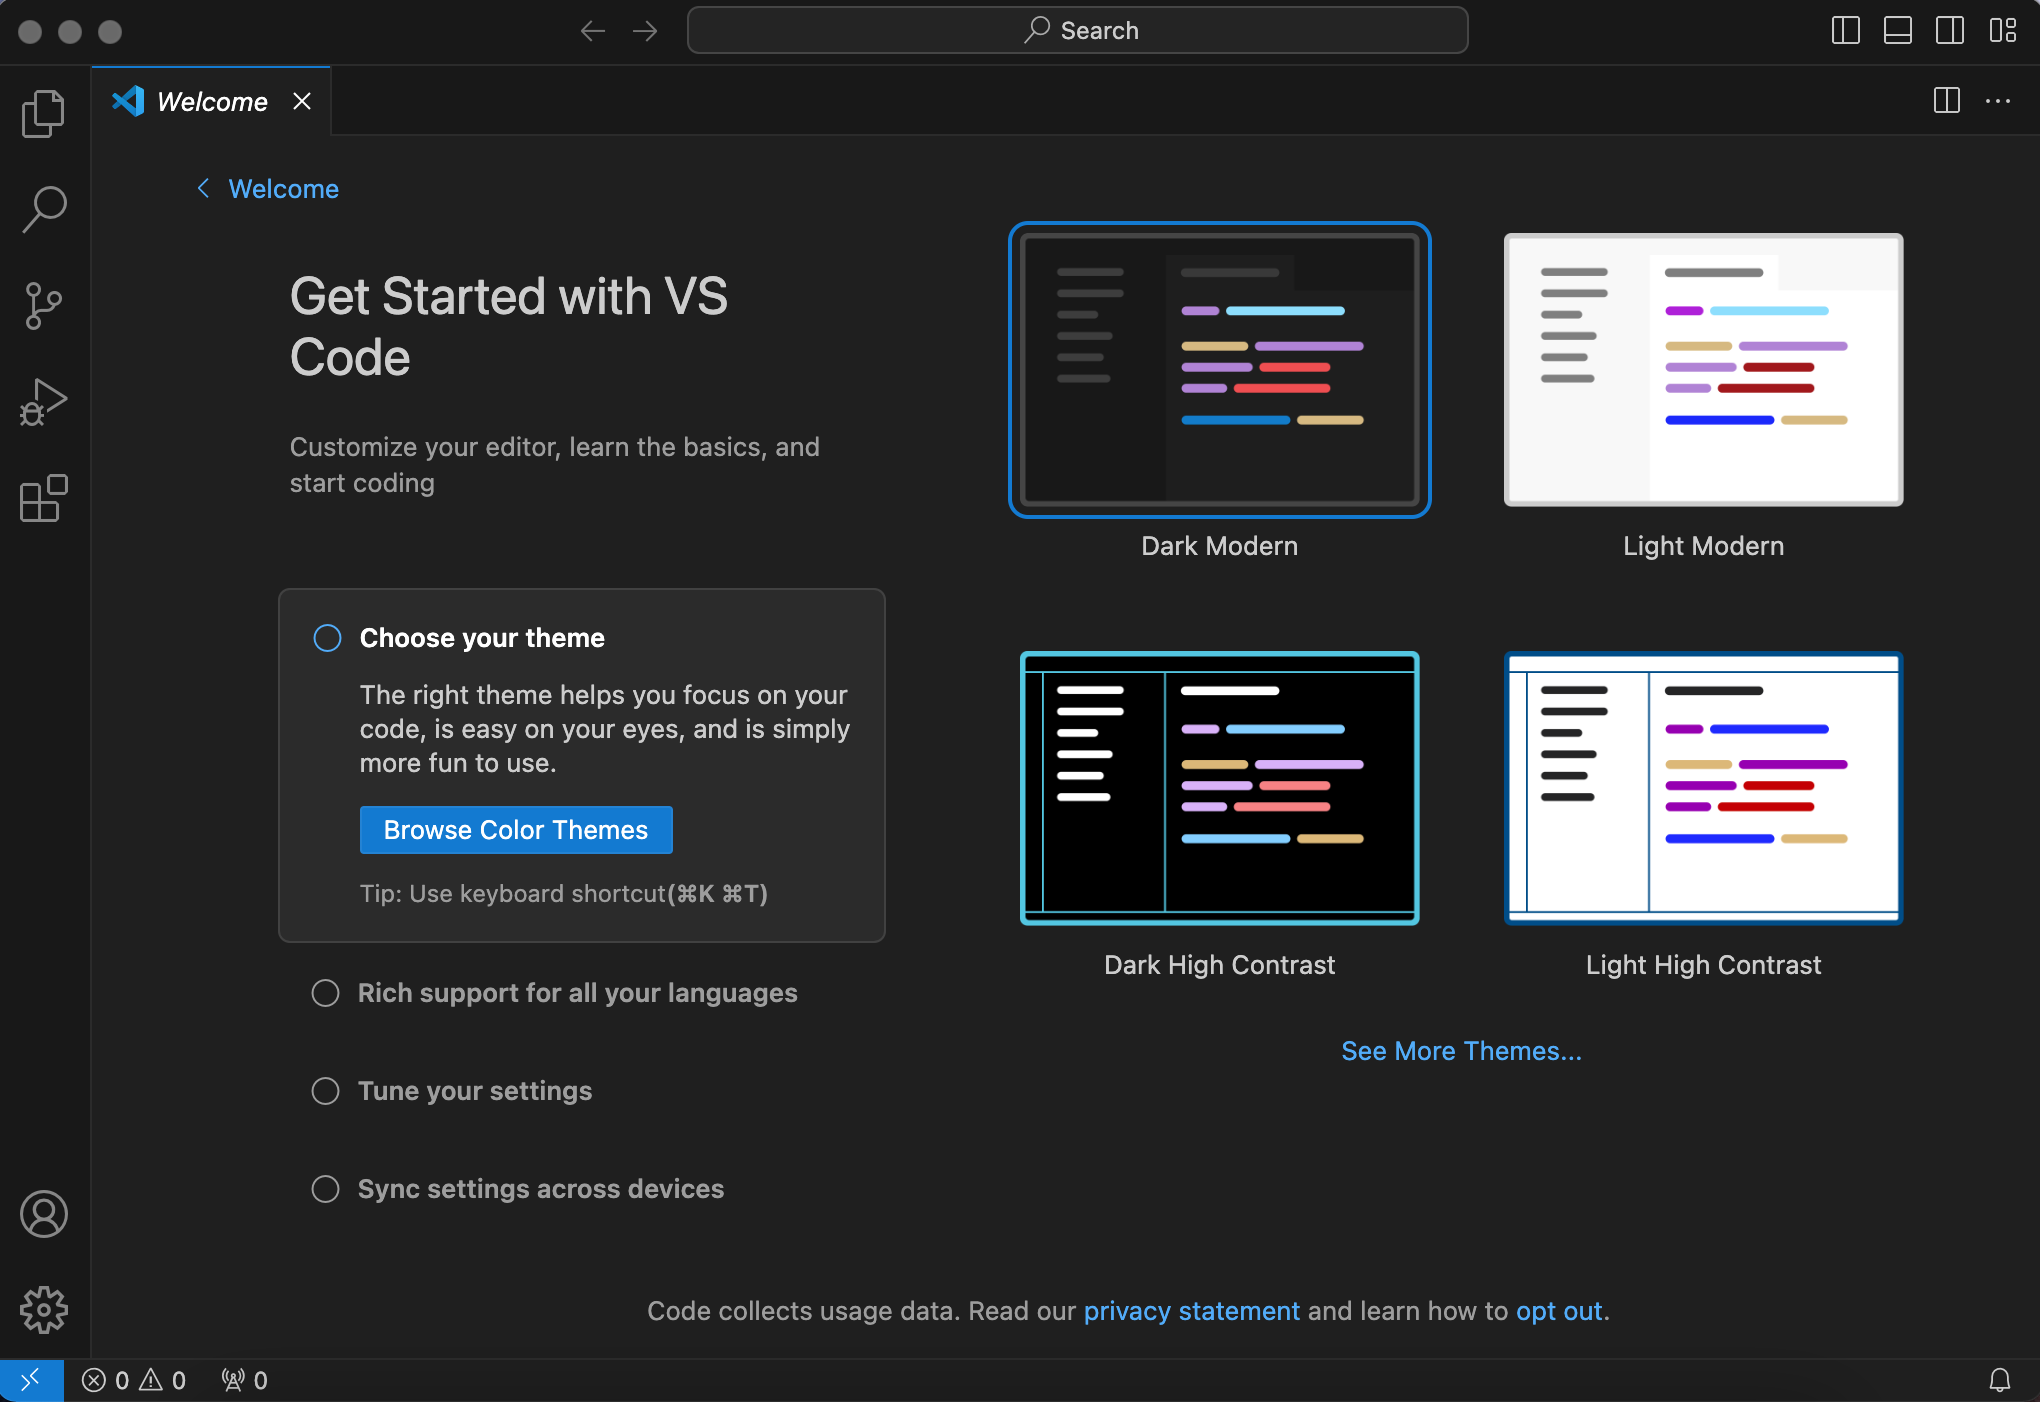
You now have VS Code installed. We will go through its setup and basic usage on the next book page.
Go to Download Visual Studio Code. Installation guide can be found here. Otherwise, you can follow the instructions below.
Select the
tar.gzbased on your Linux system.Use your terminal to extract the tarball (
tar.gz):tar -xvf code-*.tar.gz. Navigate into the extracted folder (e.g.,cd VSCode-linux-x64) and run the application using./code.In general, once the installation is complete, you can launch Visual Studio Code by:
Searching for “Visual Studio Code” in your application menu, or
Typing
codein the terminal. This should directly launch a VS Code window.
Optional: alternative steps 2 and 3.
Option 1. If you download .deb in step 2 (for Debian/Ubuntu), to install VS Code you need to open a terminal and use the cd command to navigate to the directory where the downloaded file is located (typically ~/Downloads/). Then install the package using
sudo dpkg -i code_*.deb.
If there are dependency issues, run
sudo apt-get install -f .
Option 2. If you download .rpm in step 2 (for Fedora), to install VS Code you need to open the terminal and use the cd command to navigate to the directory where the downloaded file is located (typically ~/Downloads/). Then install the package using
sudo dnf install code-*.rpm
2.1.2. Git#
Git is a tool used for code management. It’s a free and open-source version control system (see Version Control System in Computer glossary). Git is incredibily useful (and therefore very widely used) for tracking changes in your code, for sharing code, and for collaborating on code with others. Any programming endeavours you may encounter at your future work will almost certainly include working with Git.
Installation steps:
Go to Git - Downloading Package.
From the standalone installers, pick the Windows version your computer has and download.
Run the
.exefile and stay with the default settings until you need to choose the default editor. Select “use VS code as Git’s default editor” from the drop-down menu.
Installation steps:
Open the Spotlight search by pressing command + Space, type in “Terminal”, and open the Terminal application on you computer.
Type in git --version and press Enter.
Depending on the outcome of this action, you should follow scenario 1, 2, or 3.
Scenario 1
Running git --version in terminal displayed Git version, which looks like this:
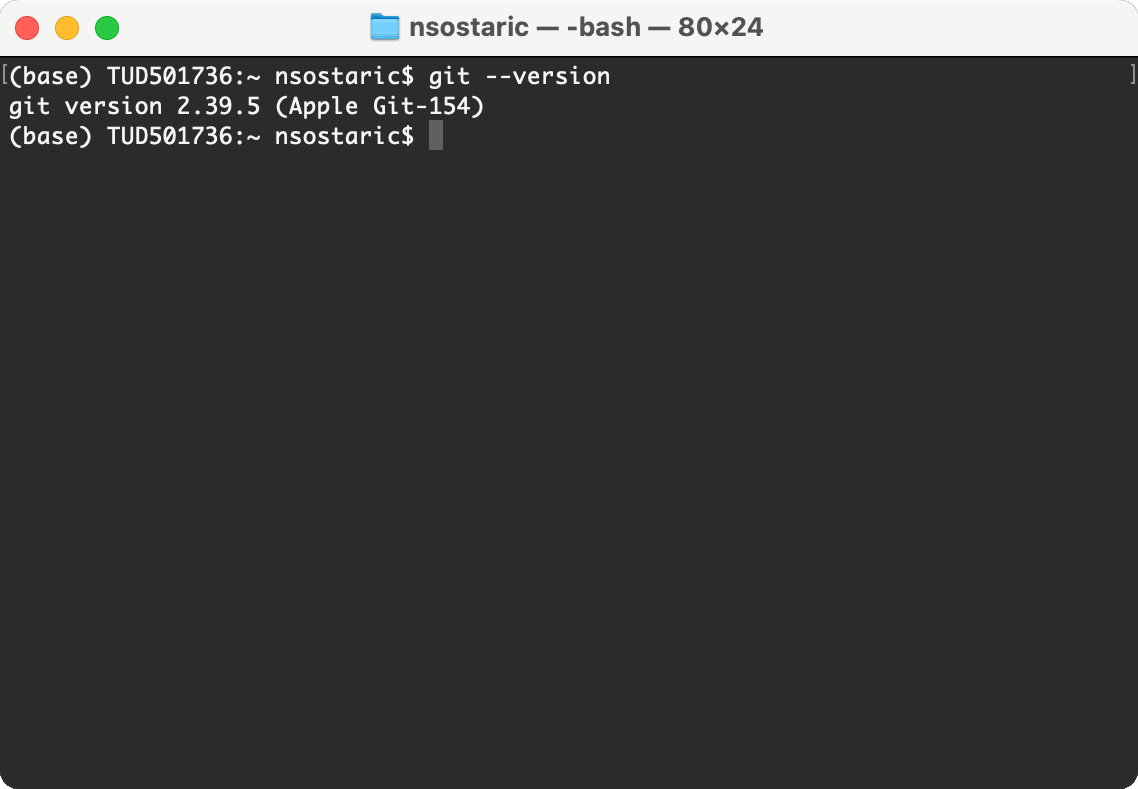
Note that the exact version displayed may be different than 2.39.5 and that is alright. If a version was displayed, you’re all set.
Scenario 2
Running git --version in terminal gave a longer message which mentions XCode, and a new window popped up prompting you to install it. In this case, agree to install and follow the installation instructions. Once it’s done, go back to terminal and try running git --version again. This time, you should get the outcome shown in Scenario 1, and then you’re all set.
Scenario 3
If even after installing XCode (Scenario 2) the terminal doesn’t display Git version, i.e., if there is no Git on your computer, you can choose to either follow these instructions or install Homebrew first (see the Homebrew section just below in the book) and then install Git using Homebrew:
Install Git with Homebrew:
brew install git
After installation, verify that Git is installed by running:
git --version
Open a terminal.
Run the appropriate command for your Linux distribution:
For Debian/Ubuntu:
sudo apt-get install git
For Fedora:
sudo dnf install git
After installation, verify that Git is installed by running:
git --versionThis command will display the installed Git version.
2.1.3. Homebrew (optional)#
Homebrew is a package manager for macOS and Linux that simplifies the installation of software and tools. Think of it as an app store for command-line tools and applications. Instead of manually downloading and installing software, Homebrew automates the process with simple commands.
Homebrew is particularly useful for installing development tools, libraries, and utilities that aren’t available through the standard macOS App Store or Linux package managers. For example, it can be used to install Git (if not already present), Python packages, and many other developer tools.
When do you need Homebrew?
Homebrew is optional for most users. You may need it if:
Git installation via XCode doesn’t work on macOS (scenario 3 above)
You want an easier way to install and manage development tools
You plan to install additional programming languages or tools in the future
If you’re following the standard installation path and everything works, you can skip this section for now.
Open the Terminal application.
Copy and paste the following command into your terminal and press
Enter:
/bin/bash -c "$(curl -fsSL https://raw.githubusercontent.com/Homebrew/install/HEAD/install.sh)"
Follow the on-screen instructions. You may be prompted to enter your password. Note that when typing your password in the Terminal, the characters will not be displayed for security reasons. Don’t worry — your input is still being registered, so just type your password as usual and press
Enter.Once installation is complete, verify that Homebrew is installed by running:
brew --version
This should display the installed Homebrew version.
Open your terminal.
Copy and paste the following command into your terminal and press
Enter(do not usesudo):
/bin/bash -c "$(curl -fsSL https://raw.githubusercontent.com/Homebrew/install/HEAD/install.sh)"
Follow the instructions displayed in the terminal during installation.
After installation completes, add Homebrew to your PATH by running these commands:
echo 'eval "$(~/.linuxbrew/bin/brew shellenv)"' >> ~/.bashrc
eval "$(~/.linuxbrew/bin/brew shellenv)"
Verify that Homebrew is installed correctly by running:
brew --version
This should display the installed Homebrew version.
2.1.4. Miniconda#
Miniconda is a minimal installer for conda and a small version of Anaconda. It is a distribution of Python programming language, which comes with some pre-installed packages, such as pip.
Before you start using Python, you need to install Miniconda. We will also need a few packages that are not included in Miniconda; we will set this up on the next book page.
What are packages?
Imagine you are working with a two-dimensional matrix filled with numbers, and using Python you wish to transpose this matrix, i.e., switch its rows and columns. As you can imagine, many people before you have wanted to do the same thing in Python. To prevent programmers from reinventing the same pieces of code time and again, there are multiple Python packages available, each containing pre-made code which performs certain operations (such as matrix transposition). You can install and use these packages for free using your terminal.
Installation steps:
Go to Miniconda installer page.
Select Windows and provide your email address. The log into your email account and click on the download link. Scroll down to Miniconda section and select Windows installation file for download.
Run
.exefile and start installation.Follow the default settings; in the step when you can choose recommended settings (by clicking third tickbox), select those.
Check if you have miniconda3 folder in the path:
C:\Users\yourUserName.Open Anaconda Prompt which was installed with Miniconda.
Type
condato see the possible commands.Try the
conda listcommand to see if the installation is successful.
Make Conda available in Git Bash:
Since this course uses Git Bash to teach Unix-style commands (which are standard in scientific computing and bioinformatics), you need to make conda commands available in Git Bash. To do so, follow these steps:
In the Anaconda Prompt window, run the following command:
conda init bashClose all terminals. (Anaconda Prompt, Git Bash, etc.)
Open Git Bash and verify that conda works by typing
conda --version.
This step is essential for the rest of the course, as we will be using Git Bash terminal with Unix-style commands rather than Windows Command Prompt (CMD) or PowerShell.
Installation steps:
Click on the Apple symbol in the top left corner of your screen and then click About This Mac. Take note of the type of processor/chip you have (Intel vs. M1/M2/M3); this will inform your choices in this installation.
Go to this website. Select macOS and provide your email address. The log into your email account and click on the download link. Scroll down to Miniconda section and select macOS installation file for download.
Click on the link “Download the .pkg installer” in the first installation step and select the corresponding file from the table:
“Miniconda3 macOS Intel x86 64-bit pkg” if your laptop has an Intel chip.
“Miniconda3 macOS Apple M1 64-bit pkg” file if your laptop has an M1, M2, or M3 chip. This will download a
.pkgfile into yourDownloadsfolder.
Return to the previous webpage with installation instructions and follow steps 3 and 4: navigate to the downloaded
.pkg, double-click on it, and follow the instructions. Accept the default settings. When installation is finished, you can move the installer to the Bin.Let’s verify whether the installation was successful by following steps 5 and 6. First, use
cmd+ space bar to open the Spotlight search on your Mac. Type in “terminal” to open the terminal application. This will look like this:
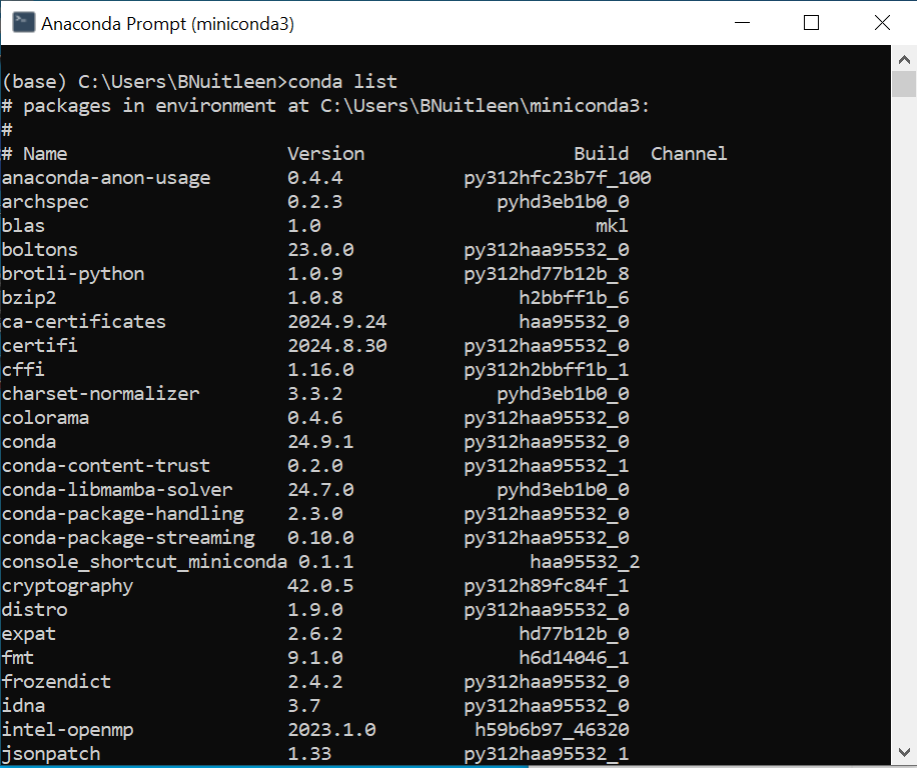
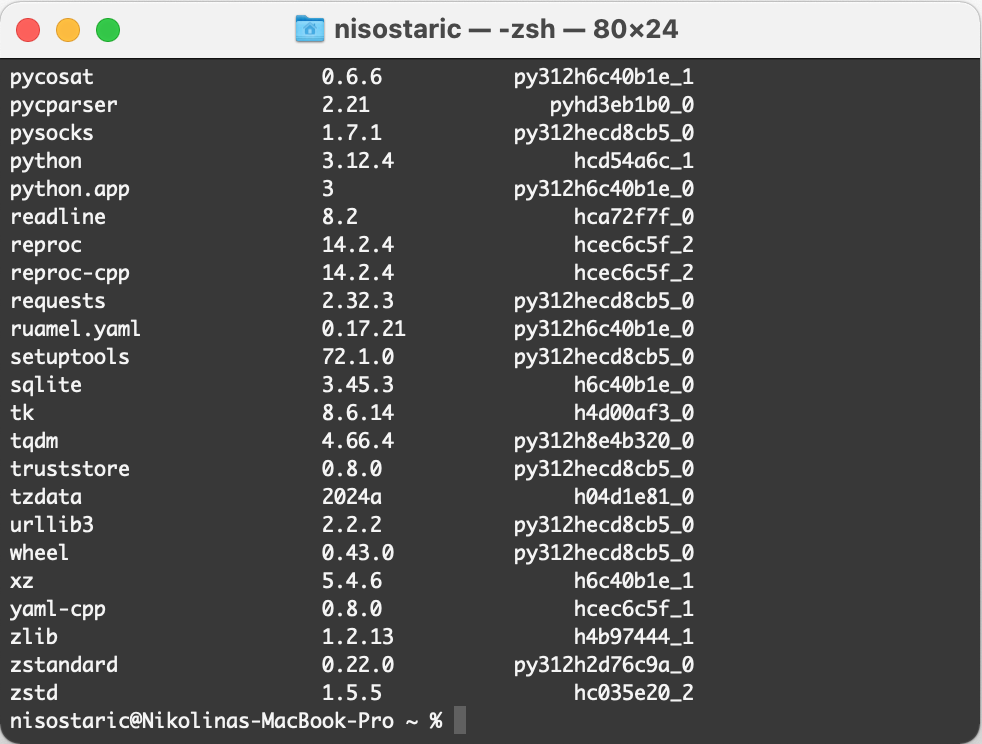
Type in
conda listand pressEnter. If your Miniconda installation was successful, you will get output like this (you can also scroll up to see the entire list of installed packages):
Before starting the installation, it’s helpful to know your system’s architecture (e.g., x86_64 or ARM). This will help ensure you download the correct version of Miniconda. You can find this information using the following command in your terminal:
uname -m
If the output is x86_64, your system has a standard Intel/AMD 64-bit processor. If the output is aarch64, your system has an ARM processor.
Go to the Miniconda website. Select Linux and provide your email address. The log into your email account and click on the download link. Scroll down to Miniconda section and select Linux installation file for download.
Once the installer is downloaded, navigate to the folder where it is saved (typically your
Downloads/folder). You can do this using thecdcommand in your terminal. Make the installer executable with thechmodcommand and then run it, e.g.:
chmod +x Miniconda3-latest-Linux-x86_64.sh
./Miniconda3-latest-Linux-x86_64.sh
During the installation follow the prompts and review the license agreement.
Accept the default installation location.
At the end, it will ask if you want to initialize Miniconda (conda init). Confirm by typing yes.
To check if the installation was successful, close your current terminal and open a new one. Then, type
conda list. If your Miniconda installation was successful, you will see a list of installed packages (check the macOS tab in these instructions to see an example).During installation, if you accepted the
conda initprompt (which modifies the shell’s startup files),condacommands should already be available in any terminal session. You can check this by opening a new terminal and runningconda list. Otherwise, if you chose not to let the installer modify your PATH, it is useful to add Miniconda to your PATH manually. To do so, add the following line to the end of your.bashrcor.zshrcfile (depending on your shell) and then run withsource:
export PATH="$HOME/miniconda3/bin:$PATH"
source ~/.bashrc  # or source ~/.zshrc